
 Marketing
In today’s digital world, video editing is essential for creating engaging content, from YouTube videos and Instagram Reels to advertisements and films. Video transitions help connect clips smoothly, improve storytelling, and give videos a more polished and professional look. In this blog, we’ll understand what video editing is, what video transitions are, 10 popular video editing transitions, how to create smooth transitions, and how to make professional-looking videos.
What Is Video Editing?
Video editing is the process of cutting, arranging, and enhancing video clips to create engaging content. It includes adding music, sound
effects, text, graphics, colour adjustments, and transitions to make the final video more polished and professional.
What Are Video Transitions?
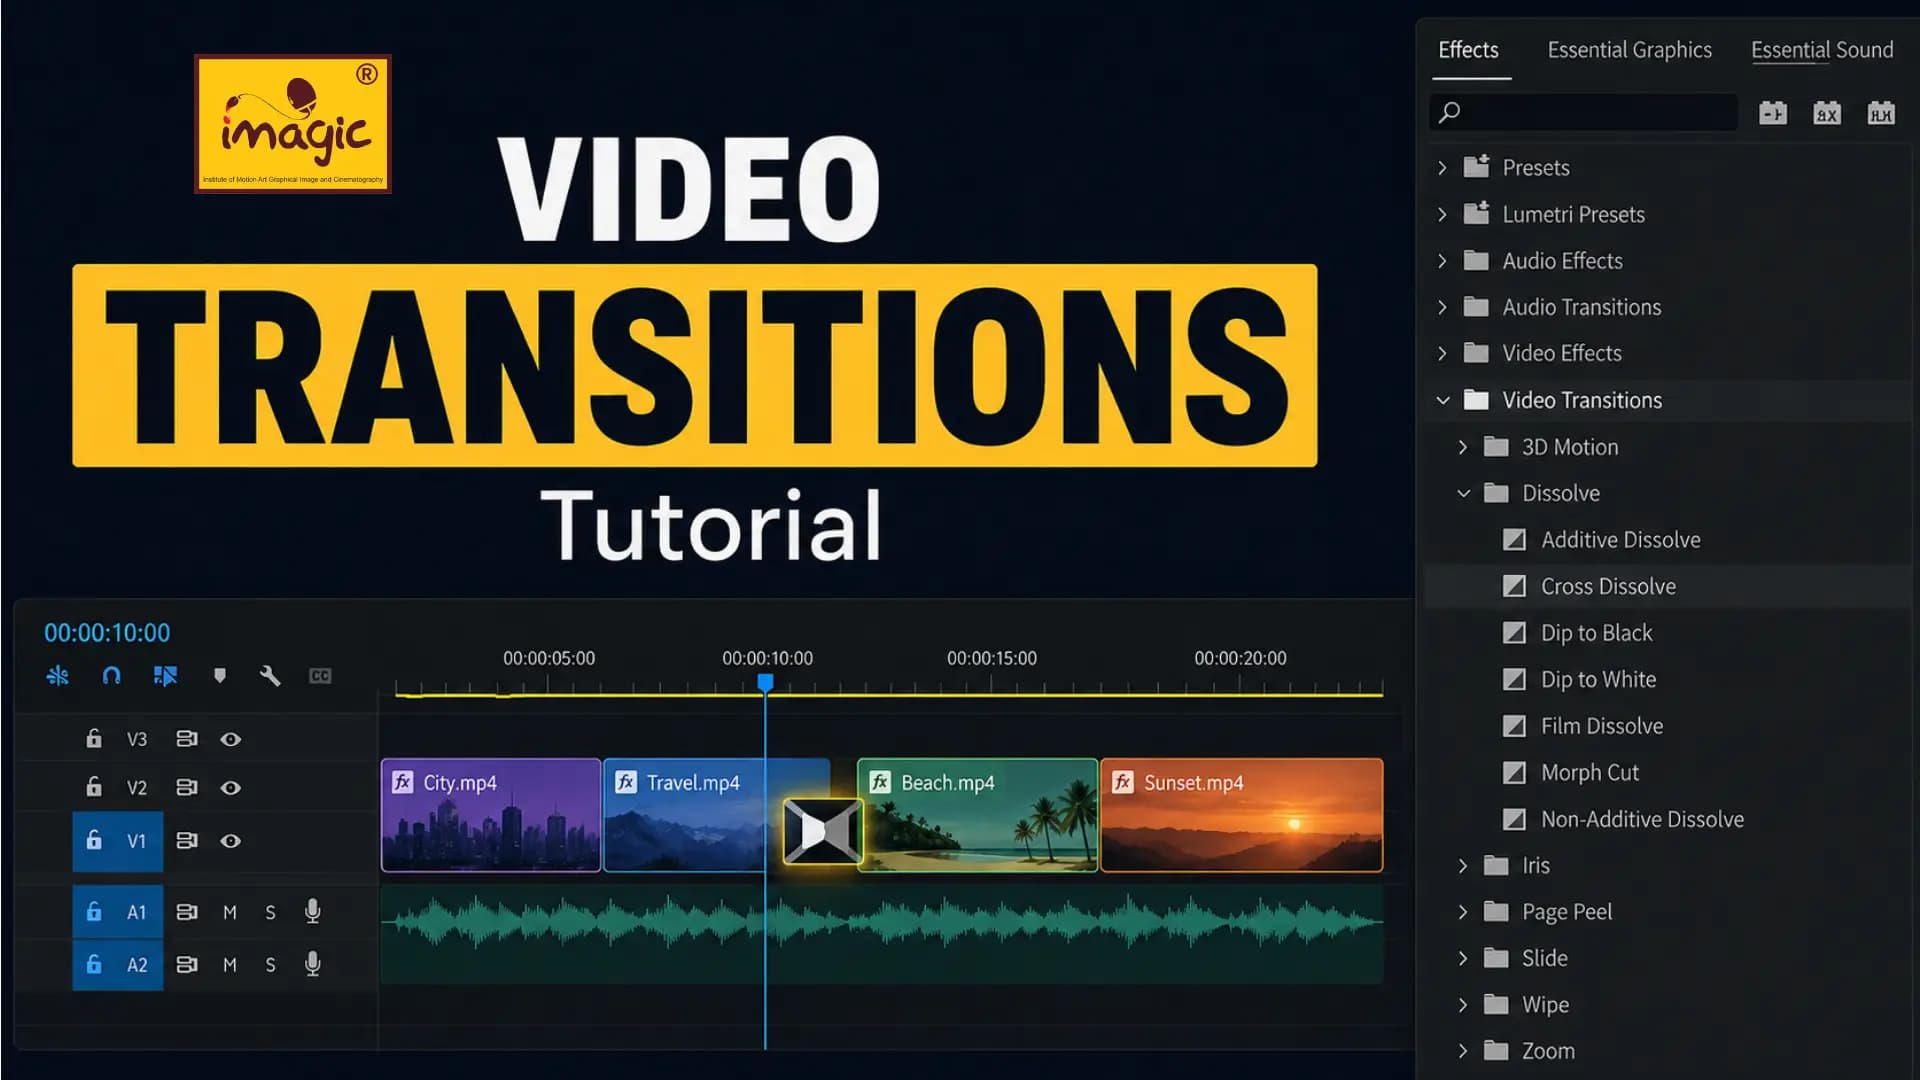
Video transitions are visual effects that smoothly connect one clip to another. From cuts and fades to zoom, whip, glitch, and mask effects, they make videos more engaging and professional
Why Are Video Transitions Important?
Smooth transitions improve flow, storytelling, and viewer engagement. In today’s world of YouTube, Instagram Reels, TikTok, and short-form videos, the right transitions help your content stand out and look more polished.
How to Create Video Transitions in Premiere Pro
Want to make your videos look smoother, more engaging, and professional? Learning how to create transitions in Adobe Premiere Pro is a great place to start. From simple cuts and fades to creative zoom and slide effects, Premiere Pro gives you plenty of options to make scene
changes more visually appealing.
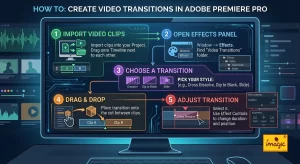
1. Import Your Video Clips
Start by importing your video clips into Premiere Pro and drag them onto the Timeline. Place the clips next to each other where you want the transition to appear.
2. Open the Effects Panel
Go to Window → Effects to open the Effects panel. Find the Video Transitions folder, where you'll find different transition categories.
3. Choose Your Transition
Select a transition that matches your video's style. Some popular options include:
• Cross Dissolve – Simple and smooth
• Dip to Black – Cinematic and dramatic
• Push – Clean and modern
• Slide – Great for social media content
• Zoom – Dynamic and energetic
4. Drag and Drop
Simply drag your chosen transition from the Effects panel and drop it onto the cut between two clips. That's it! Premiere Pro will automatically apply the transition to the edit point.
5. Adjust the Transition
Select the transition on your timeline to adjust its duration and alignment. A shorter transition usually feels faster and more energetic, while a longer one can create a softer, cinematic effect.
10 Popular Video Editing Transitions
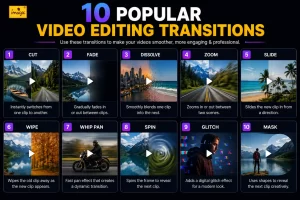
From simple cuts to creative effects, the right transition can instantly make your video more engaging. Here are 10 popular transitions every editor should know:
1. Cut
Fast & Effortless — A clean, instant switch between clips that keeps your video flowing naturally. Perfect for YouTube, Reels, tutorials, and fast-paced content.
2. Fade
Soft & Cinematic — Gently brings a scene in or out, adding a smooth and emotional touch to your openings, endings, and storytelling moments.
3. Dissolve
Smooth & Story-Driven — Seamlessly blends one scene into another, making changes in time, mood, or location feel natural and visually appealing.
4. Zoom
Fast & Dynamic — Uses zoom-in or zoom-out movement to create energetic scene changes, especially for Reels and Shorts.
5. Whip Pan
Fast & Energetic — Uses rapid camera movement to create a stylish transition between scenes.
6. Slide
Clean & Dynamic — Smoothly moves one clip across the frame to reveal the next, creating a fresh and modern visual flow.
7. Spin
Bold & Energetic — Adds a rotating motion between scenes for a fun, attention-grabbing effect. Best for creative, fast-paced edits.
8. Glitch
Edgy & Futuristic — Uses digital distortion, RGB shifts, and visual noise to give your videos a modern, tech-inspired look.
9. Mask
Creative & Seamless — Uses objects, shapes, or subjects in the frame to cleverly reveal the next scene for a cinematic transition.
10. Speed Ramp
Dynamic & Eye-Catching — Speeds up or slows down footage to create dramatic, energetic transitions with a smooth cinematic feel.
How to Make Transitions Look Professional
Adding a transition is easy—but making it look smooth and natural requires a little more attention.
Match Your Movement:
Try to connect clips with similar movement or direction. This makes the transition feel more natural instead of forced.
Match the Music Beat:
For Reels, Shorts, and music-driven videos, try placing your transitions on the beat of the music. This can instantly make your edit feel more dynamic.
Don't Overuse Transitions:
You don't need a fancy transition between every clip. Sometimes a simple cut is more effective and professional. Add Sound Effects:
A well-timed whoosh, swipe, or impact sound effect can make a transition feel more powerful and engaging.
Experiment With Keyframes:
For more advanced transitions, use keyframes to control properties such as position, scale, rotation, and opacity. This allows you to create customized transitions instead of relying only on presets.
Conclusion:
Video transitions can make your edits smoother, more engaging, and professional when used correctly. Start with the basics, practice different
techniques, and gradually develop your own editing style. Ready to improve your video editing skills? Start your journey with IMAGIC KOLKATA and IMAGIC SHRIRAMPUR, learn PROFESSIONAL VIDEO EDITING practical skills, create professional videos, and take the next step toward building a successful career in video editing.
Imagic Editorial Team
Faculty and editorial writers at Imagic — covering careers in design, video editing, and digital marketing across India.